Introduction
Installation of new air conditioner is the biggest investment for comfort of homeowners. But proper installation is just as important as choosing the right unit. A poorly installed AC can lead to reduced efficiency, frequent breakdowns, and higher energy bills. That’s why following a comprehensive AC installation checklist is crucial.
We can explore step-by-step AC installation checklist for homeowners, and it highlights the preparation before installing AC. Even, you are first homeowner or replacing old AC, this checklist will be benefical.
1. Step-by-Step AC Installation Checklist for Homeowners
Before diving into installation, it’s essential to follow a structured plan. Here’s a clear step-by-step breakdown:
- Evaluate Your Cooling Needs: Calculate the right AC size based on room size, insulation, and climate.
- Choose the Right Unit: Central AC, ductless mini-split, or window AC depending on your home layout.
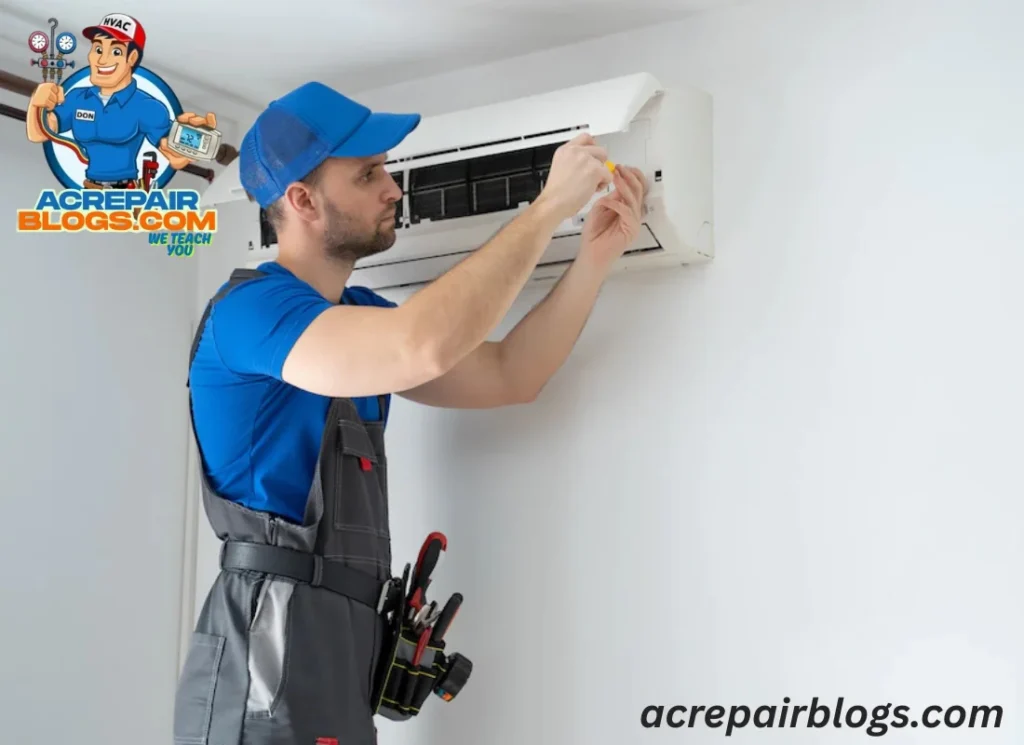
- Select Installation Location: Outdoor condenser should be in a shaded, well-ventilated space; indoor unit should allow proper airflow.
- Check Electrical Requirements: Ensure your home’s electrical panel supports the new unit.
- Prepare the Ductwork: Seal leaks and clean ducts before connecting a new system.
- Install Thermostat: Consider upgrading to a smart thermostat for better efficiency.
- Test the Unit: Once installed, run the system to check airflow, cooling, and thermostat accuracy.
2. Common Mistakes to Avoid During AC Installation
Even small errors during installation can cost homeowners thousands in the long run. Here are the mistakes to avoid:
- Choosing the wrong AC size (too small or too large).
- Placing the outdoor unit in direct sunlight or near heat sources.
- Neglecting duct inspection and sealing.
- Skipping professional load calculation and relying on guesswork.
- Not allowing proper clearance around the outdoor condenser.
- Ignoring safety protocols and electrical grounding.
3. How to Prepare Your Home for New AC Installation
Preparation is half the job. Before your AC arrives:
- Clear the Installation Area: Remove debris, furniture, or obstacles from both indoor and outdoor installation sites.
- Inspect Insulation: Poor insulation means your AC will work harder, wasting energy.
- Check Windows and Doors: Seal leaks and gaps to prevent air loss.
- Review Electrical Setup: A licensed electrician should verify wiring compatibility.
- Plan for Condensate Drainage: Ensure proper slope for the drain line to prevent leaks and mold.
4. Best AC Installation Tips for First-Time Homeowners
If this is your first AC installation, keep these tips in mind:
- Invest in a professional installer if unsure mistakes can void warranties.
- Ask for an energy efficiency rating (SEER rating) before buying.
- Keep maintenance in mind choose a model with easy-to-replace filters.
- Register your warranty immediately after installation.
5. What to Check Before Installing an Air Conditioner
Before the big day, double-check these essentials:
- Correct unit size for your square footage.
- Voltage and circuit breaker compatibility.
- Space and ventilation for outdoor unit.
- Drainage system readiness.
- Thermostat compatibility.
This AC installation safety checklist for homeowners ensures your installation process goes smoothly without unexpected delays.
6. Essential Tools and Steps for AC Installation at Home
Even if professionals handle the installation, it helps to know the tools and steps involved:
Tools: Wrench set, vacuum pump, refrigerant scale, leak detector, level, and safety gear.
Steps: Mounting indoor unit → Setting outdoor condenser → Connecting refrigerant lines → Electrical wiring → Testing and commissioning.
7. How to Ensure Proper AC Installation and Efficiency
Efficiency is the ultimate goal of correct installation. To maximize performance:
- Use insulated copper pipes for refrigerant lines.
- Ensure no refrigerant leaks.
- Maintain at least 2 to 3 feet clearance around the condenser.
- Balance airflow by testing vents in all rooms.
- Schedule a professional inspection after installation.
8. Professional vs DIY AC Installation Checklist
- DIY Installation: Cost-saving, but requires technical expertise and can be risky. Not recommended unless you have HVAC training.
- Professional Installation: Ensures safety, warranty protection, and long-term efficiency.
If you’re new, consider using a detailed air conditioning installation checklist for beginners to monitor the technician’s work.
9. Detailed Air Conditioning Installation Checklist for Beginners
For homeowners unfamiliar with AC systems, here’s a simplified checklist:
- ✅ Check AC size compatibility with room/house.
- ✅ Ensure proper unit placement indoors and outdoors.
- ✅ Verify duct sealing and insulation.
- ✅ Confirm electrical connections are safe.
- ✅ Inspect refrigerant charge and test cooling efficiency.
- ✅ Make sure the thermostat is calibrated correctly.
10. Long-Term Benefits of Following the Checklist
By using a thorough AC installation checklist, homeowners enjoy:
- Lower electricity bills.
- Longer AC lifespan.
- Fewer breakdowns.
- Cleaner indoor air quality.
- Peace of mind knowing the system is safe and efficient.
Conclusion
Installing a new AC is more than just plugging in a unit. With a structured AC installation checklist, homeowners ensure that their system is installed safely, efficiently, and ready to provide comfort for years to come. Whether you go the DIY route for small units or hire professionals for full systems, preparation and knowledge are your best tools for success.