How to Winterize Your Outdoor AC Unit: A Complete Guide
Introduction: Why Winterizing Matters
Your air conditioner works hard all summer to keep your home cool, but when winter rolls around, your outdoor AC unit is exposed to cold winds, snow, ice, and debris. Ignoring seasonal maintenance can lead to rust, cracked components, or even costly repairs come spring. That’s why it is essential to know how to winterize your outdoor AC unit properly.
In this guide, we will cover the step-by-step guide to winterizing an outdoor AC unit, share outdoor AC unit maintenance tips for cold weather, and answer the big question many homeowners ask: Do you need to winterize your AC unit?
By the end, you will have a clear, actionable plan to keep your system safe until next cooling season.
Do You Really Need to Winterize Your AC Unit?
One of the first questions homeowners ask is: “Do you need to winterize your AC unit?”
The short answer: Yes! if your residence is in the cold area.
Here’s why:
- Snow and ice can build up on the outdoor condenser, leading to rust and corrosion.
- Falling leaves, dirt, and debris can clog internal parts.
- Expansion of Water in coil and lines cracks due to frozen temperature.
Even, the manufacturers can take care that AC units will be designed to handle outdoor conditions. Winterizing provide extra protection and increase durability of unit.
Step-by-Step Guide to Winterizing an Outdoor AC Unit
1. Turn Off the Power Supply
Locate the electrical switch near your outdoor AC unit (usually inside a small box on the wall) and turn it off. These precautions save the unit from sudden damage and pulling ice and water inside.
2. Clean the Unit Thoroughly
Remove leaves, twigs, dirt, and grass clippings from around the unit. Then use a garden hose to gently spray off dust and debris from the fins and coils. Allow it to dry completely before moving to the next step.
3. Inspect for Damage
Check for cracks, rust spots, or loose wires. Addressing small problems now prevents bigger issues in spring. Schedule professional inspection, if you notice anything different.
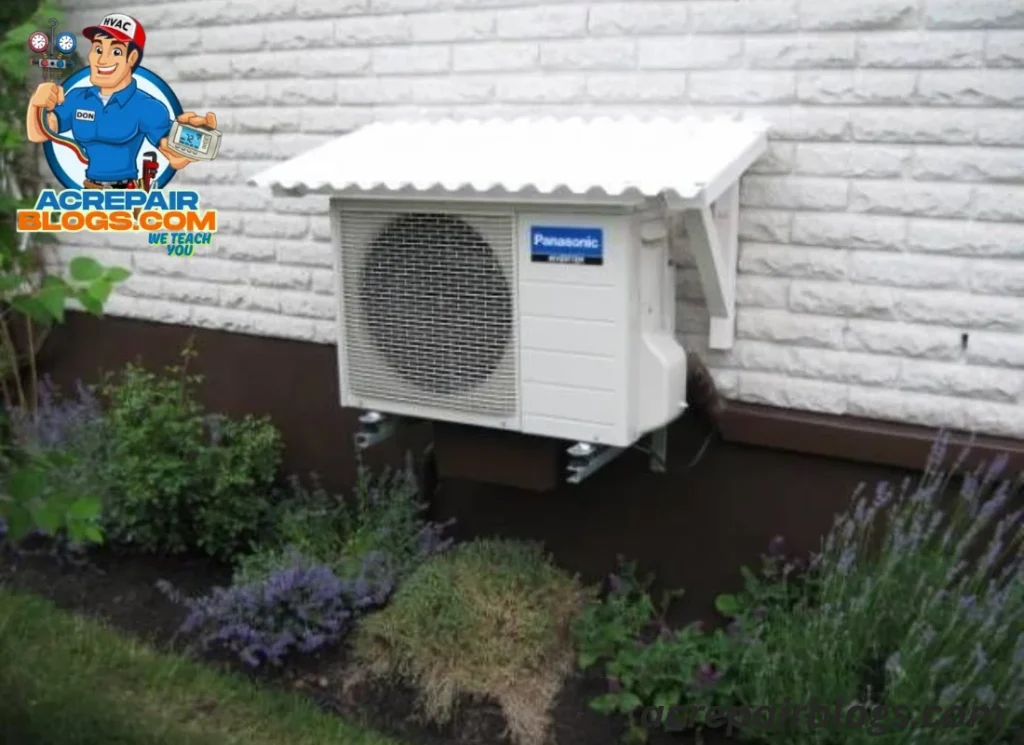
4. Cover the Unit (The Right Way)
When it comes to the best way to cover an AC unit for winter, many homeowners make mistakes. Never wrap it too tightly or use plastic covers that trap moisture, this can cause mold or corrosion.
- Use a breathable, waterproof AC cover designed for outdoor units.
- Alternatively, you can place a plywood board on top to keep snow and ice out.
- Secure with bungee cords if needed, but make sure air circulation is still possible.
5. Insulate Exposed Pipes
Use foam pipe covers to insulate any exposed refrigerant lines. Secure them with duct tape to prevent freezing and cracking.
6. Protect Against Rodents
Small animals often seek shelter in AC units during winter. Place wire mesh around the base or add mothballs nearby (but safely out of reach of children and pets).
7. Check Periodically
Winterizing is not a one-and-done task. Throughout the season, remove heavy snow buildup from around the unit and check that the cover is still intact.
Outdoor AC Unit Maintenance Tips for Cold Weather
Here are some quick tips to help protect your outdoor AC unit during winter:
- Keep the area clear: Remove snow, branches, and debris regularly.
- Do not run the unit: Never attempt to use your AC in freezing conditions.
- Avoid plastic tarps: They trap condensation and cause rust.
- Elevate if possible: If your home is prone to flooding or heavy ice, consider raising the unit slightly off the ground.
- Schedule professional service: A technician can ensure the system is properly shut down and prepped.
How to Protect an Outdoor AC Unit During Winter
Many Homeowners reduce the importance of protection after some time. Here are some effective ways to shield your system:
- Properly fitted AC covers: Choose one that is durable, UV-resistant, and breathable.
- Wind barriers: Plant shrubs or build a fence to reduce wind exposure (but keep at least 2 to 3 feet clearance for airflow).
- Moisture management: Ensure proper drainage around the base to prevent standing water.
- Routine checks: Every few weeks, remove snow and ice buildup.
These behaviour secure outdoor AC safety in hard situations.
Common Mistakes to Avoid When Winterizing Your AC
While protecting your system is crucial, many homeowners accidentally cause more harm than good. Avoid these pitfalls:
- Wrapping too tightly: This traps moisture inside.
- Skipping cleaning: Dirt left inside can freeze and damage components.
- Forgetting to cut power: Running during winter weather can cause serious damage.
- Using cheap plastic sheets: These encourage rust and mold growth.
Frequently Asked Questions
Q1: Do you need to winterize your AC unit if you live in a mild climate?
Not always. If your winters are mild and frost-free, heavy winterization may not be necessary. However, basic cleaning and occasional inspections are still a good idea.
Q2: What’s the best way to cover an AC unit for winter?
Use a breathable fabric cover or a plywood top cover to keep snow and debris out while allowing airflow.
Q3: Can I use my AC during a warm winter day?
It’s not recommended. Turning on your AC when temperatures are near freezing can pull ice and water into the system, leading to damage.
Q4: How often should I check the unit during winter?
At least once a month or after heavy snowstorms to ensure the cover is intact and the area is clear.
Conclusion
Outdoor air conditioner is very important for prolonge performance. By following this step-by-step guide to winterizing an outdoor AC unit, using the best way to cover an AC unit for winter, and applying simple outdoor AC unit maintenance tips for cold weather, you will safeguard your system against snow, ice, and debris.
So, how to protect an outdoor AC unit during winter? The answer is simple: clean it, cover it correctly, insulate pipes, and check it regularly.
Come spring, you will be glad you took these precautions your AC will be ready to kick back into action without unexpected repairs or costly downtime.